Recording a DJ mix is sometimes not an option using a laptop. This is because of a couple of main reasons, some DJs simply do not use a laptop in their DJ set, also some DJs may DJ at festivals where laptops might not be that practical to take.
How to Record Your DJ Mixes WITHOUT a Laptop?
- Purchase an external recording device
- Buy the correct cables
- Connect the device to the DJ mixer
- Hit record on the device
- Start mixing
- Hit stop once finished mixing
- Post edit your DJ mix
- Upload & share your mix
I’m going to provide you with a range of recording methods that are separate to a laptop. All feature varying price points, some expensive and some inexpensive, even second hand.
1. Purchase an external recording device
Tascam DR-05X
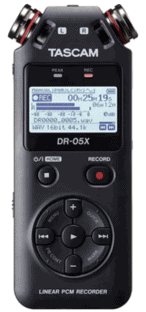
There are slight variants of the Tascam which provide different functionality, such as how many channels you can record at once and also microphone type.
Using the Tascam device for recording a DJ set is pretty simplistic, all you need is a mini-jack cable to plug into it, usually via the DJ mixer.
Dual purpose
If you’re a DJ producer, then the Tascam device would be a great and valuable recording device. You can easily use the device to record sounds, vocals, live guitar etc to then use in your music productions.
Obviously the main benefit would be to record your DJ sets which is great, because you don’t have to invest in an expensive laptop.
Practicality
Practical use of a Tascam DR-05X will benefit from buying extra components. For example:
- a case to protect the case from damage just in case you need to travel to various DJ gigs, especially beneficial for international travel.
- SD memory cards you will need to purchase so that you can save your DJ sets.
- buying a cable or two to plugin in from the DJ mixer to the Tascam device. For example a mini jack to phono see here.
- AA Batteries to power the device. I usually invest in a rechargeable set of batteries and plug to save on money.
- SD card adaptor to connect to your laptop and transfer your DJ sets to be then promoted on Mixcloud, social media etc. You will need to look out for different adaptors for Mac or Windows as the connections vary slightly.
Check out the Tascam here. As mentioned above there are different versions and models that offer modified features. Weigh up the cost and your needs then you should be good to go with recording your DJ sets.
Pros
- High quality audio recording device
- Small and easy to carry to DJ gigs
- Dual purpose for recording via microphone and line input (if you wanted to get into producing music too)
- Relatively easy to copy files over to computer (similar to USB memory stick)
- 10 hours device usage based on testing with rechargeable batteries
Cons
- Have to buy accompanying accessories to work it which can drive up the cost slightly e.g. SD card adaptor, AA batteries, protective case etc.
- Might not include all the essential cables and accessories as standard e.g. USB Micro B-Type, unless you find a bundle deal online.
- Slightly expensive if you are looking for a cheap solution.
Similar device
Just to add there’s actually a similar device to this called the Zoom H4n. This device is very similar in terms of size, functionalities and design. Slightly more expensive in comparison to the Tascam which is something to keep in mind.
Reloop TAPE 2
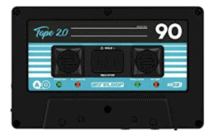
This little cassette tape looking device is small and practical little thing. Simplistic in design, easy to use, lightweight and easy to carry around with you.
File formats
It allows you to record either MP3 or WAV to an SD card that you plug into it at the side of the device.
Battery type and life
Built-in batteries are great because you don’t have to buy separate batteries compared to other recording devices.
Power is gained by plugging in the Reloop TAPE 2 device into a laptop or USB charge point using a USB cable. Pretty simple really.
Apparently there’s 6 hours of usage time on full charge, this should be plenty of time to record your DJ set. Although make sure you charge it up to the max so you don’t cut off during your DJ set when recording.
Monitoring recording signal
You can plug in your headphones to monitor the DJ set sound to check for clipping or distortion. This is a basic feature but you can still check the levels. If you like ease of checking levels with a display then this device might not be for you.
Tip: because it’s a small recording device, don’t forget it after you’ve finished you DJ set. Expensive mistake leaving it behind otherwise.
Pros
- Ease of use, light and small in device size
- Rechargeable via USB cable plus a 6 hour use time
- Easy to transport with you to DJ gigs
Cons
- No digital display to monitor levels
- Expensive compared to other devices that arguably provide more value e.g. microphone recording / digital display
Evermix Box 4
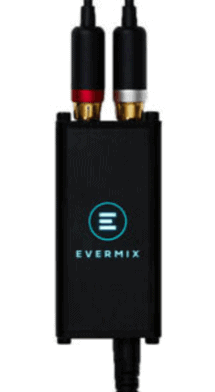
The Evermix Box 4 is a great device for recording your DJ sets. It’s a pocket sized recording device that allows you to connect to a DJ mixer which connects to the Evermix Box 4.
The other side of the Evermix then in return connects to a phone in which you can install an Evermix App allowing you to record your DJ sets.
App functionality
The app is great as it allows you to submit and share your DJ mixes straight to Mixcloud and Soundcloud. The app is intuitive and practical as there are controls withing the app to edit audio levels at specific points throughout the audio recording.
It’s possible to record the crowd using the app too, so you can add in and edit the crowds reaction for that which is a cool feature of the app.
Price
The price is pretty balanced in comparison to other recording devices, but if you’re not comfortable using your phone in a club environment then this might not be the one for you.
Live streaming
Recording at home may be more appealing with the use of this recording device. Especially because it can double up as a streaming device for live DJing on say Facebook or Mixcloud.
Pros
- Small lightweight device to carry around
- Comes with a protective case and cables
- Doubles up as a device you can use for live streaming DJ sets
- App connects to Mixcloud and Souncloud for ease of uploading DJ
Cons
- Price might not be super appealing for some people
- Some reviews say the app is glitchy and doesn’t always save the recordings (but may be an issues that’s resolved now)
Phone App
Arguably the cheapest option to go with recording your DJ sets, however the cost of a smartphone e.g. Samsung or iPhone are pretty steep.
The app can be accessed for free for a 30 day trial to see how you get on with it and also using your phone as a recording device.
Check out the app here on Pioneers website.
Using the app on your phone will require a connection to a DJ mixer that has a digital send-return which basically means a USB type connection. Not all DJ mixers have this available so this can be quite a limiting factor.
The best by far feature is how easy you can share your mixes straight away once finished the mix. The app can link to your YouTube, Facebook, Instagram etc to then upload your mix straight away. So from this point of view it’s very efficient sharing your DJ mixes.
Pro
- Cheap to buy app from Pioneer at £9.99, especially in comparison to other dedicated recording devices.
- Limiter on the app helping a lot with clipping and overall audio quality.
- Auto limiter removes the need manually check clipping and distortion.
Con
- Requires a digital send-return on the DJ mixer or DJ controller that you are using.
- Puts your phone at risk of potential damage at live gigs, therefore annoying if your phone breaks.
- Takes away the use of your phone if you needed it for something during your DJ set e.g. camera.
2. Buy the Correct Cables
For any device to record there is a connection to be setup, and using the correct cables are essential. Always check the outputs on your DJ mixer to check the options that you have.
Some DJ controllers for examples only have one output, for example phono master out, therefore limiting you to record with your headphones on, or at best using on phono to the speaker and the other phono into the recording device.
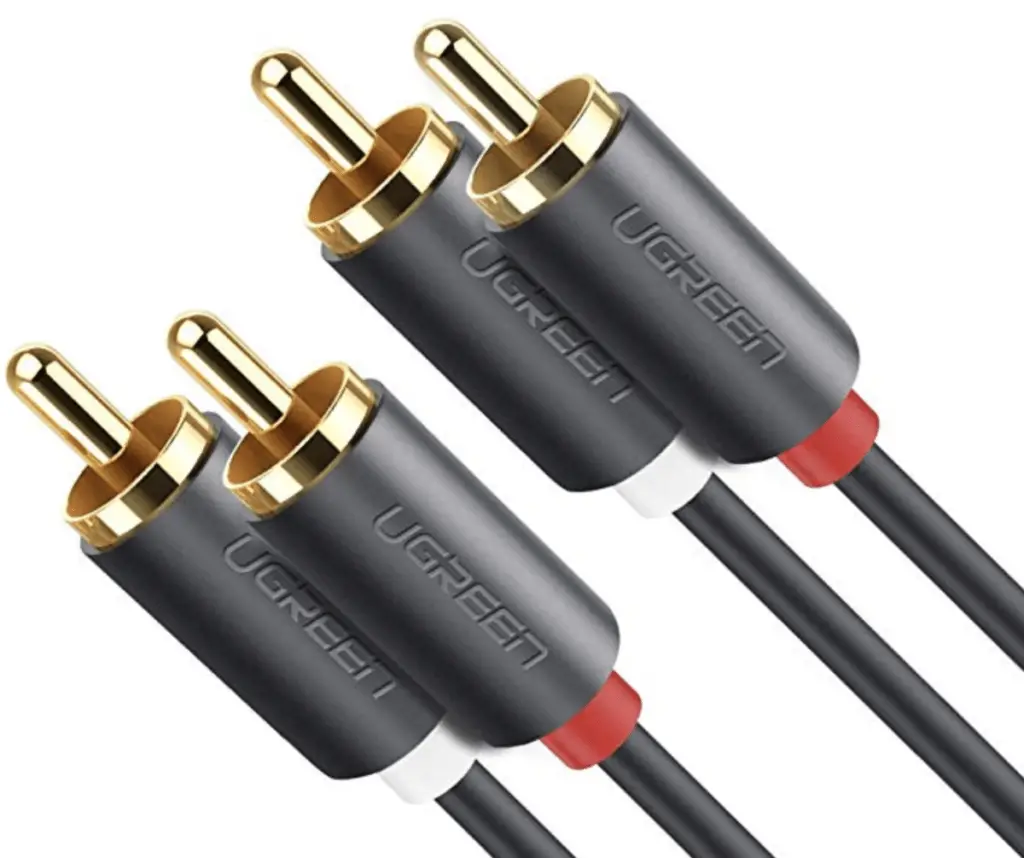
2 x phono RCA cable to mini-jack
For the majority of the devices above there will be a 2 x phono RCA cable to mini-jack connection. This would apply to the Tascam and Reloop TAPE 2. Check out the cable here.

2 x phono to phono
2 x phono to phono would work great with the Evermix Box 4. The cable and other examples can be found here.
Mini-jack to lightening adaptor
I use an iPhone, but there are many types of phones out there so the cable might change.
To record with the Pioneer DJ App I use a a mini-jack to lightening adaptor which also connects to the DJ mixer via phono to mini-jack cable. Check out the cable here.

3. Connect the device to the DJ mixer
For all the devices setup there’s a common connection type and that’s to the Master out or Booth out.
Connect cable to mixer and recording device
The phono RCA cable connects to the mixer and then you can connect the other side of the cable (whether that may be phono, mini-jack or another adaptor cable) to the recording device.
Check the recording quality
Once you’ve got that setup, always make sure to check that the levels arriving to the external recording device are not too low or clipping/distorting like mad.
- Check the master out or booth out level by checking the mixer knob is not too low or on full blast.
- Check the levels on the screen of your recording device to see that they are correct.
- Do a test record to double check everything sounds ace.
4. Hit record on the device
Before you hit record, always check that there’s enough space on SD card or phone if you are using one. This can be massively infuriating if you’ve just nailed the DJ set of your life and you’ve just ended up not doing some basic checks. Set lost, gone, kaput! It’s gutting.
Tip: remember to check there’s enough memory on your device before recording.
Hit record on your recording device, check one last time that the recording device is recording.
5. Start mixing
It’s mixing time!
Throughout your mix please, please, please make sure that you trim and gain levels are not entering into the red.
Check out my article here for how to not go into the red on a mixer. Otherwise you hit distortion in your mix and will sound rubbish. This will also be annoying too.
Tips when mixing and recording a DJ set
- enjoy mixing (but not too much you make silly mistakes)
- don’t get too excited
- focus on your beat matching quality
- drop new music onto the track that isn’t playing
- use SYNC button if you are struggling as a backup plan
- keep levels on the mixer from distorting
6. Hit stop once finished mixing
Always remember to hit stop recording on your device before taking out any of the cables.
I’ve found with apps sometimes this messes things up with the recording, as in it doesn’t save your recording.
7. Post edit your DJ mix
Transferring your DJ mix recording to a computer is usually pretty seamless. Tascam and Reloop TAPE have to be connected to a laptop to then be copied over to the desktop for example.
You don’t necessarily need to post edit your mix. I would say it is worth doing if you want the sound quality to be boosted and a bit higher. The other benefit in editing it is taking out dead sound at the beginning or end.
These little aspects to polishing off your DJ mix will help sound more professional.
On a laptop you access your DJ mixes and open them up using Audacity or Ableton cut out dead sound, adjust volumes of tracks etc.
On the apps that you’ve recorded onto such as the Pioneer or Evermix app it seems there are functions to achieve similar post editing outcomes.
8. Upload & share your mix
The apps appear to be ridiculously easy to upload to other platforms such as Soundcloud or Mixcloud.
Either way uploading and sharing to DJ platforms will get your mixes out there to world.
Make sure you get a solid name for the mix to stand out, along with a great image. If you want to make a cool looking image to upload, I use www.canva.com
Related Questions
How do I record my DJ mix on my laptop?
Connect your DJ mixer to your laptop via a recording device, use audio software such as Ableton or Audacity to check the levels and hit record. DJ software can also record your DJ mixes, there’s usually a record button you can hit before DJing which will save a DJ mix.
How do I record DJ mix on Mac?
QuickTime player or GarageBand can record your DJ mixes on a Mac. Both software are included with a Mac. Connect the DJ mixer or DJ Controller to your Mac, select the correct ‘input’ and hit record.
Can you record a mix with rekordbox?
Rekordbox allows you to record DJ mixes with in the software itself. In preferences, select the folder in which the recording is to be saved. Click on record when the DJ mix is to be recorded.