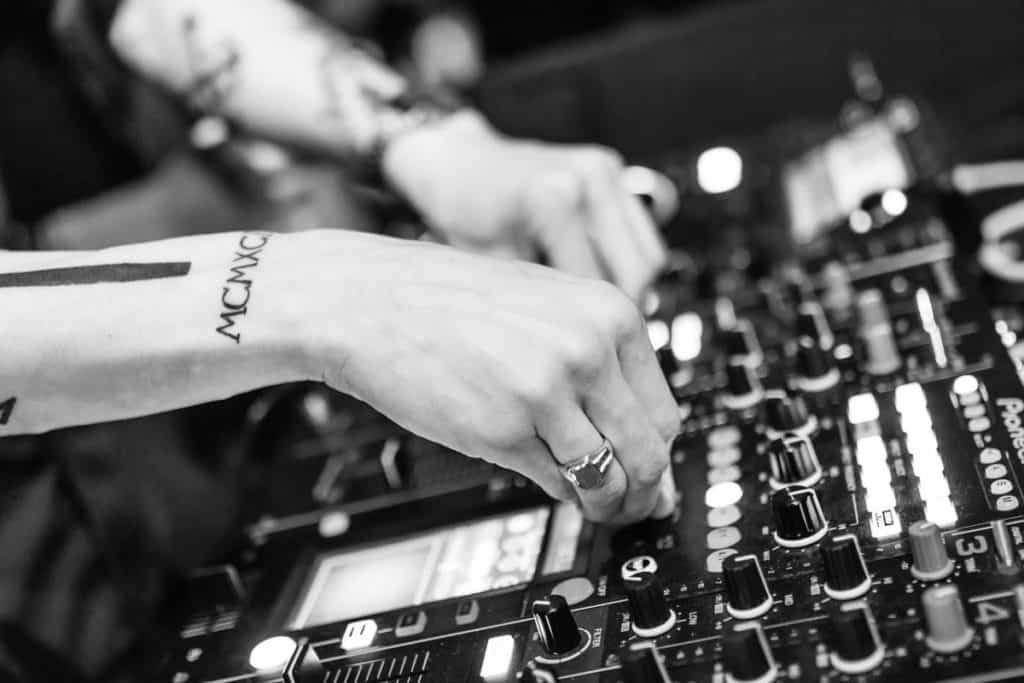
Starting out DJing can be daunting especially because of the large choice of DJ equipment to invest your money. More importantly the skills that you need to acquire to start DJing can be confusing in terms of where to start.
When I first started DJing there were a fair few basic DJ skills and areas of knowledge that I missed out on. Eventually over time I learnt myself and from watching and asking other DJs. The advice in this list is my top tips and tricks for DJs that are starting out and looking to get to a high level of DJing very quickly. I wish I knew at least half of the below tips and advice when I first started.
The below list is attempted to form some order of logic in the time line of a new beginner DJ starting out.
I’ve ear marked which DJ skills and knowledge you can achieve within 12 weeks if you put your mind and dedication to it.
WEEK 1
Buy Basic DJ Equipment
In theory, all you need is headphones and a 2-channel mixer plus 2 turntables, alternatively a DJ controller with a 2-channel mixer is a worthy investment. Usually the brand selling DJ controllers provide a free version of the DJ software to allow you to start mixes with the DJ controller.
For example I use the Pioneer DDJ-400 with Rekordbox DJ software, great value for money for all DJs of any level if I’m honest.
Buying a 4-channel mixer with loads of FX to add to each channel is just simply too much and not necessary at this stage. This applies to separate DJ mixers and the mixers built into DJ controllers.
The main goal for you right now is to get to grips with mixing and beat matching.
My advice at this point is to pick which format you want to invest in and start using the setup with the goal to purely focus on achieving the skill of mixing & beat matching music. In order of simplicity of setup here are some easy and basic options to get you started DJing with.
- (1) DJ Controller:
- DJ Controller + DJ software
- (2) CDJs Setup:
- 2 x CDJs + 2-Channel Mixer + DJ software
- (3) Digital Vinyl Setup (Normal record vinyl compatible):
- DVS Audio Interface + 2-Channel Mixer + DJ software
I would say that if you’re serious about getting into DJing in bars and clubs then it is advisable to get hold of some DJ equipment. Reason I mention this is because 9 times out of 10 there will be DJ equipment ready to mix with in venues to DJ with. Most of the time CDJs or turntables for a Digital Vinyl Setup.
It is possible to learn purely how to mix on DJ software using a laptop however in my eyes this is not the best way to go as it’s highly likely that you’ll use CDJs, DVS setup and in some cases maybe a DJ controller when DJing in front a crowd live.
For more information on the DVS setup please read this article I’ve put together here.
Use “Split” on The Mixer (if You Have No Speakers)
Say for example you have no budget to buy amazing speakers to finish off your DJ setup, then DJing with headphones is a temporary option.
On some mixers there’s a switch for headphones to flick between ‘Stereo’ or ‘Split’. The second option , ‘Split’, allows each turntable playing music to feature audio separately in each ear. For example track A plays in the left ear only, and track B plays in right ear only.
…this technique can help you beat match by ear very well
This is a great technique to allow you to practice beat matching and listen to each track separately without using speakers. I sometimes use this technique to listen more carefully to a mix and make sure the beats are truly in sync.
Therefore the key benefit here is that this technique can help you beat match by ear very well (if you choose not to look at the audio waves of each track flowing on the DJ software).
Also it’s worth mentioning that once you’ve got you beats in line then it’s a great time to turn the knob over to ‘Master’. This will allow you to listen the live mix that would of been playing out of speakers if you have them setup.
Understand the Inputs & Outputs of A Mixer
Phono, RCA, jack, mini-jack, XLR and USB are all types of ports of some kind that you’ll come across with a DJ mixer, either a stand-a-lone mixer or DJ controller mixer.
My advice with different connections and cables is to make sure you understand exactly where each cable needs to be plugged into and what the purpose of each is.
Knowledge of inputs and outputs on a mixer will pay dividends for later down the line you’ll start to DJ out live in front of people. For example, particularly beneficial quickly taking over from another DJ or simply setting up for your DJ session at a house party.
Here’s a quick and dirty run-down of each type to help intro these for you.
Phono / RCA
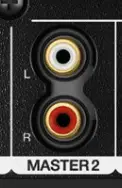
Usually signified by left and right using the colours red (right) and white (left). The Phono/RCA output allows the audio signal to be sent to the speakers. Commonly used as the ‘Master’ output.
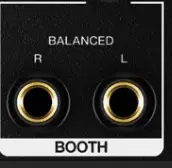
Jack (6.35mm 1/4 Inch)
Jack connections commonly allow Microphones to be connected to a mixer. Some mixers allow microphones to be connected using either XLR or Jack cables.
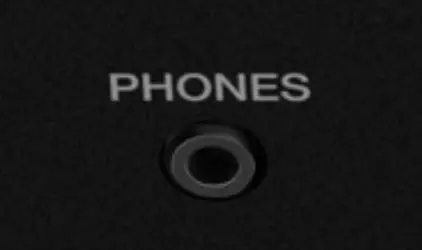
Mini-Jack (3.5mm)
The Mini-Jacks can also be used for connecting headphones.
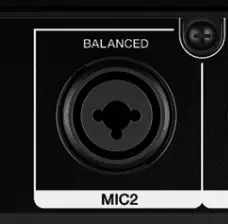
XLR
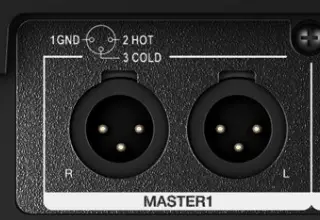
XLR inputs allow microphones to be connected using either XLR or 1/4 Inch Jack. The above image is purely for XLR cables that some microphones use, the below is hybrid of the two connection types, XMR and 1/4 Inch Jack.
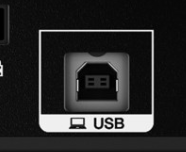
USB
USB is a well known connection type to most. In the capacity of a DJ mixer a USB connection allows DJs to connect the USB cable to a laptop in order to record DJ mixes. This is a great option for DJs looking to record their DJ mixes to a high quality audio.
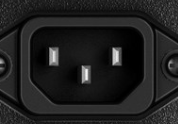
AC
Power up the mixer using an AC power cable. Some people refer to this cable as a “kettle” lead.
Buy the Correct Cable Types & Adapters
My experience of buying DJing equipment has led to annoyance in realising that sometimes the essential cables needed are not included. I’ve since got a large box of different cables built up over the years.
If you’re just starting out make sure you match up the connections on your mixer or DJ controller to the type of cables that you need. Check the back of your speakers too, usually connected via a 1/4 Inch Jack or Phono/RCA cable.
Here are some common cables that you might need for your DJ equipment setup. I’ve explained these types of cables based on the use and where to connect them potentially.
Phono to Phono (White & Red)
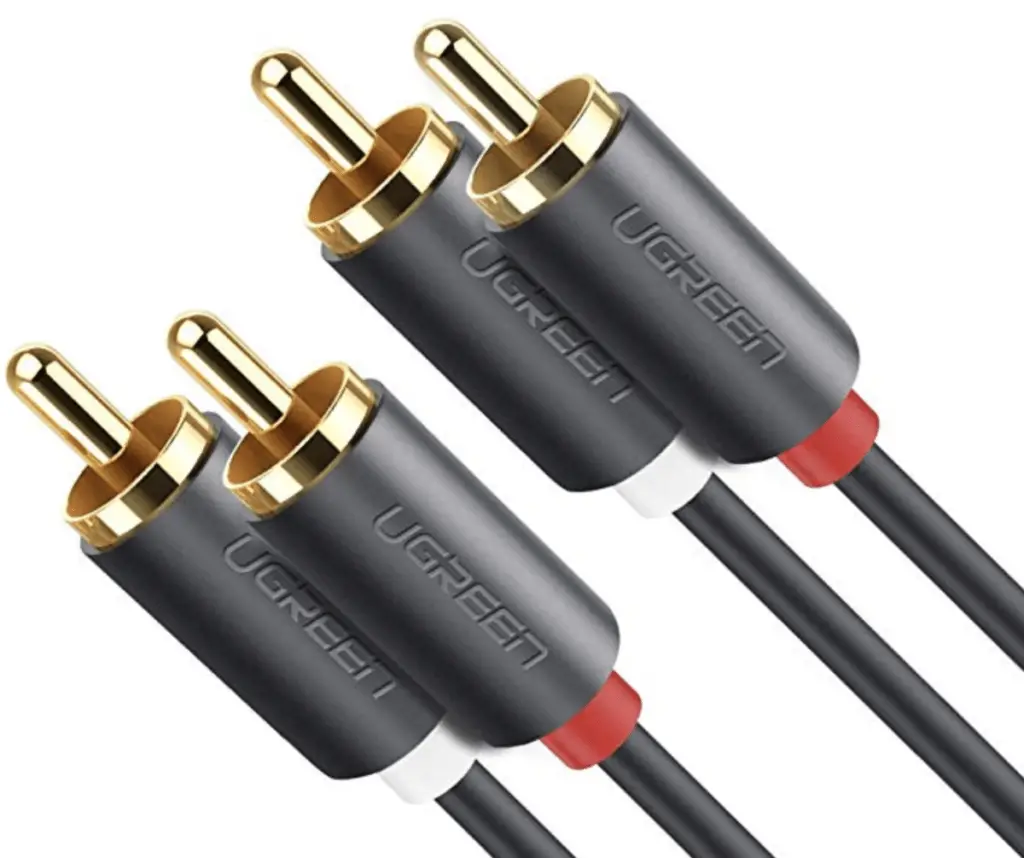
Description: Also known as an RCA cable, the phono cable consists of two phono connectors on each end of the cable.
The phono to phono cable will allow you to connect CDJs or turntables to a mixer allowing the music to play to channel 1 and channel 2 on the mixer.
You will need two sets of this particular cable in order to connect the two CDJs or turntables. You might not need this cable for a DJ controller however that depends on how you connect the back of your speakers.
Where to Buy: Amazon (Price £3 to £12 depending on the quality and length of the cable)
Mini-Jack to 2 x 1/4 Inch Jack Cable
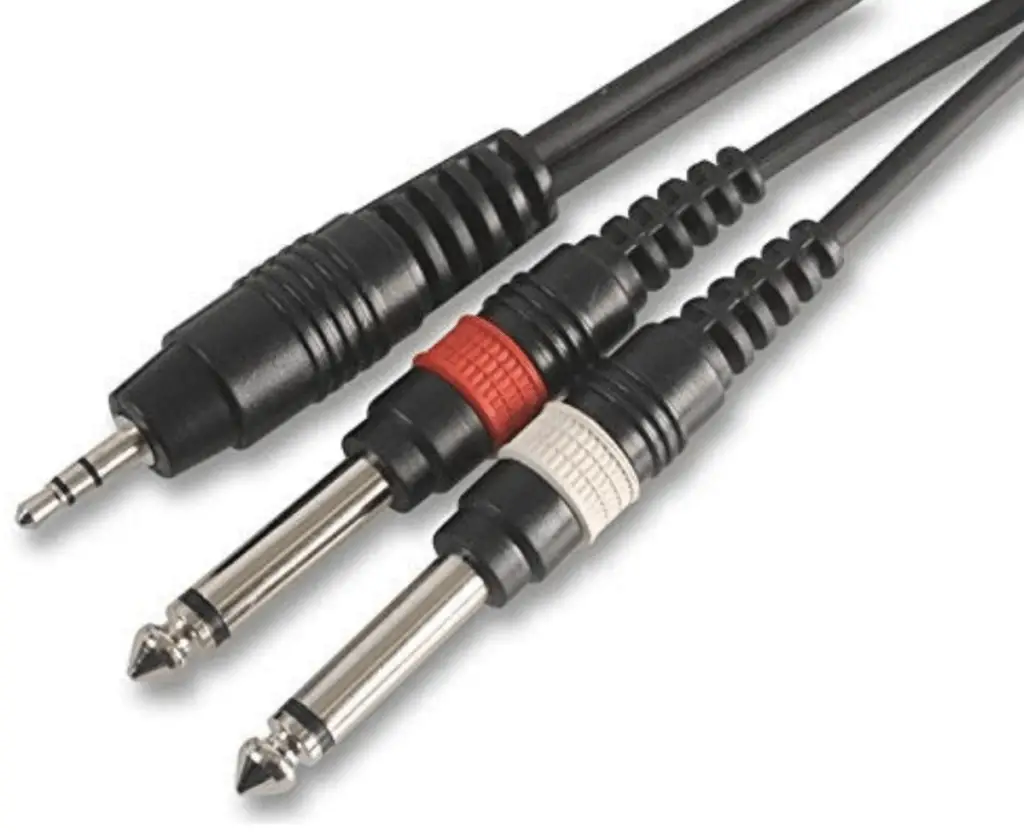
Description: This cable can come in useful if you’re looking to record a DJ mix from your DJ mixer connected to your laptop.
The two Jacks connect to the mixer output and the mini-jack connections to the input of your laptop. Using Audacity, Ableton or Garageband can support recording audio onto your laptop. Read here for techniques to record your DJ mix.
Where to Buy: Amazon (Price between £3 to £6)
Mini-Jack to 2 x Phono/RCA Cable
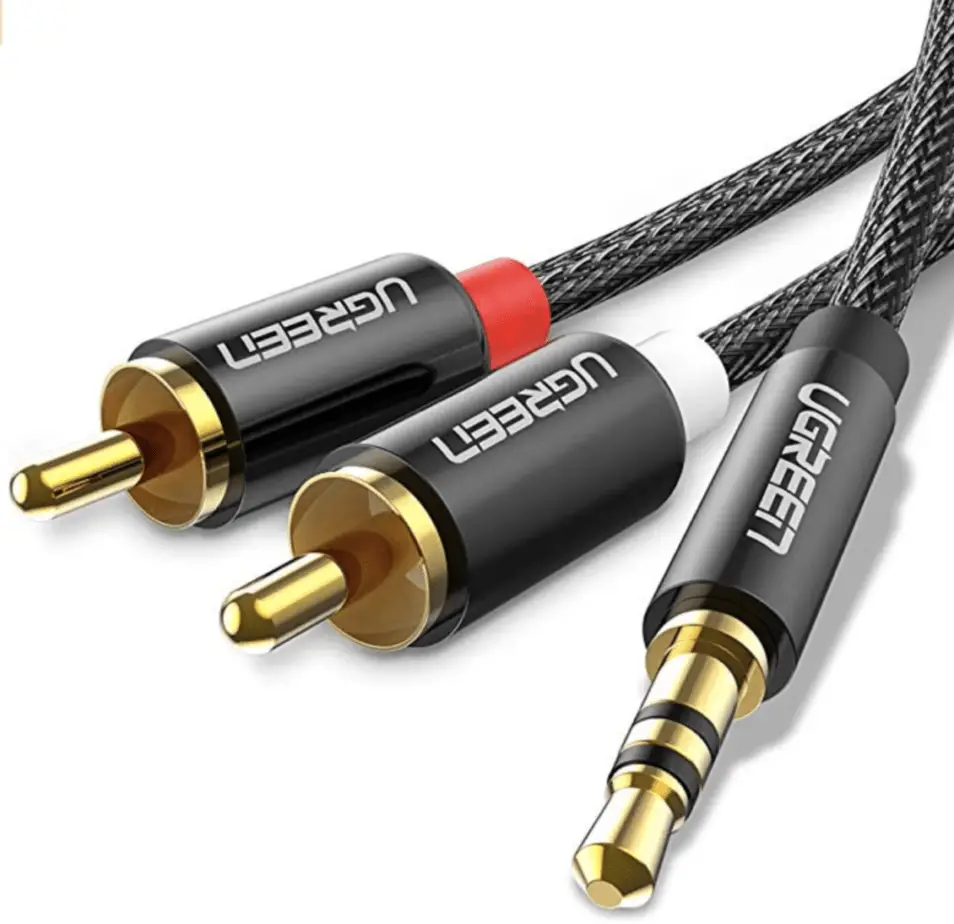
Description: This cable similar to the above and can be connected to the output of the mixer to the laptop. For the same reason you can connect the mini-jack to the laptop as the output of the mixer is being sent via the Phono/RCA connections.
Some people refer to this cable as a Y-Cable due to it’s shape and is known to not be the best option for recording mixes in terms of sound quality, but does the job still.
Where to Buy: Amazon (Price between £6 to £8)
Phono/RCA to 1/4 Inch Jack Cable
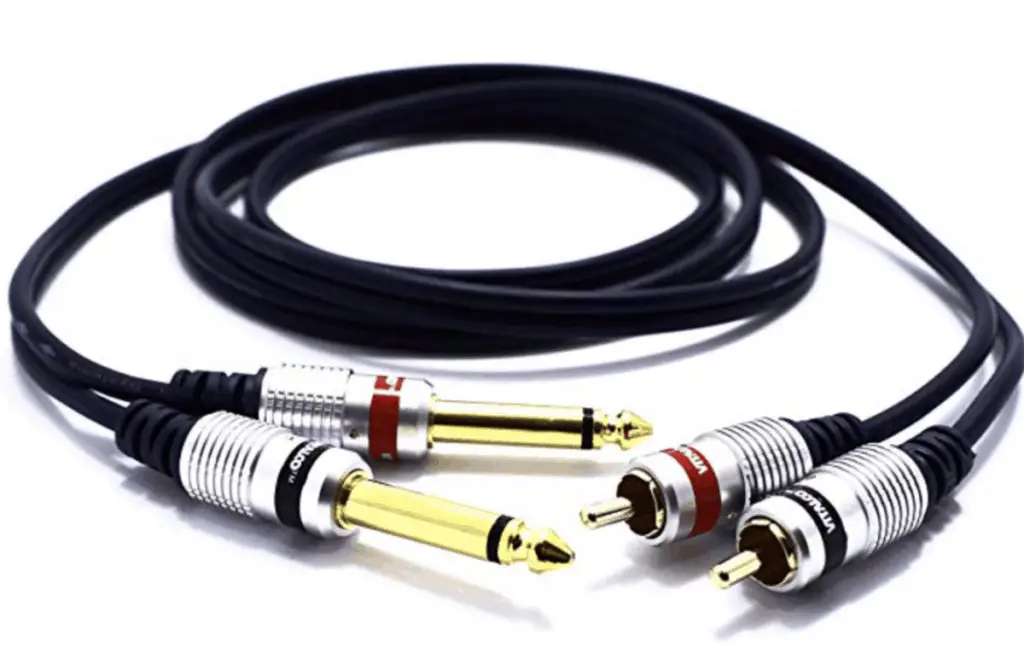
Description: Great for connecting the phono outputs of a mixer to speakers. Remember that not all speakers have a 1/4 Inch Jack connections, some may have Phono/RCA so check the back of the speakers before you buy speakers and cables for your setup.
I recently purchased two of these cables to connect to pre-amp speakers. The brand is Yamaha and a quite pricey, but you can easily get some much cheaper speakers for starting out as a DJ, especially just to practice at home with.
Where to Buy: Amazon (Price between £9 to £20)
Headphone 1/4 Inch Jack Adapter
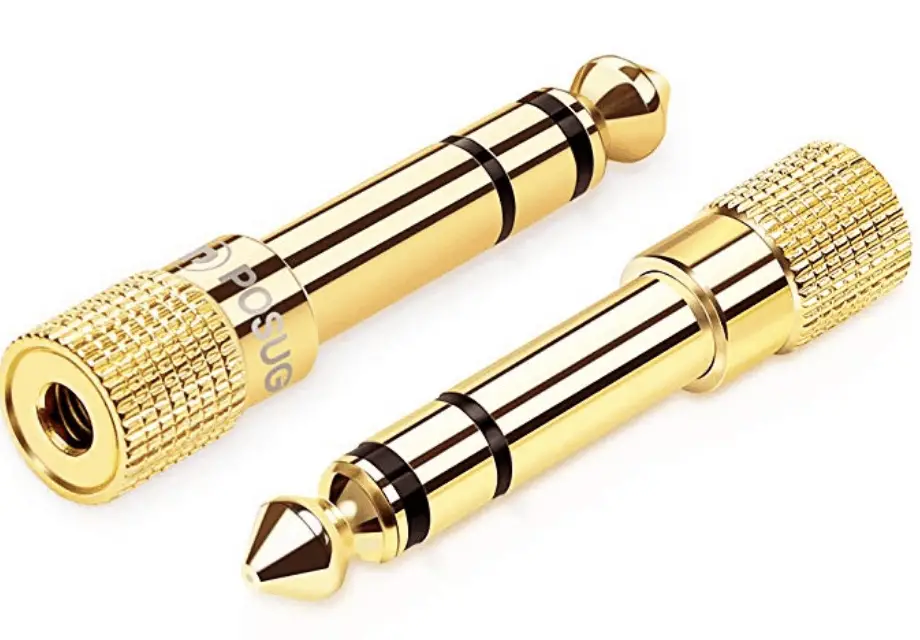
Description: This little adapter has been the most useful part of my DJ equipment over the years. You will find that most headphones are in mini-jack format to connect to other equipment and a lot of DJ mixers require 1/4 Inch Jack. It’s worth buying a couple of these as they can get lost and people like to pocket them.
You will find though that if you buy a DJ Controller then the headphone connection is mini-jack so you won’t need one of these adapters.
Where to Buy: Amazon (Price around £6)
Get To Grips with Knobs, Levels & Switches on a Mixer
Once you’ve got yourself a basic DJ mixer then it’s easy to understand what each of the things do on the mixer. Even if you started out with a basic 2-Channel mixer from Numark would work, inexpensive too. See here on Amazon.
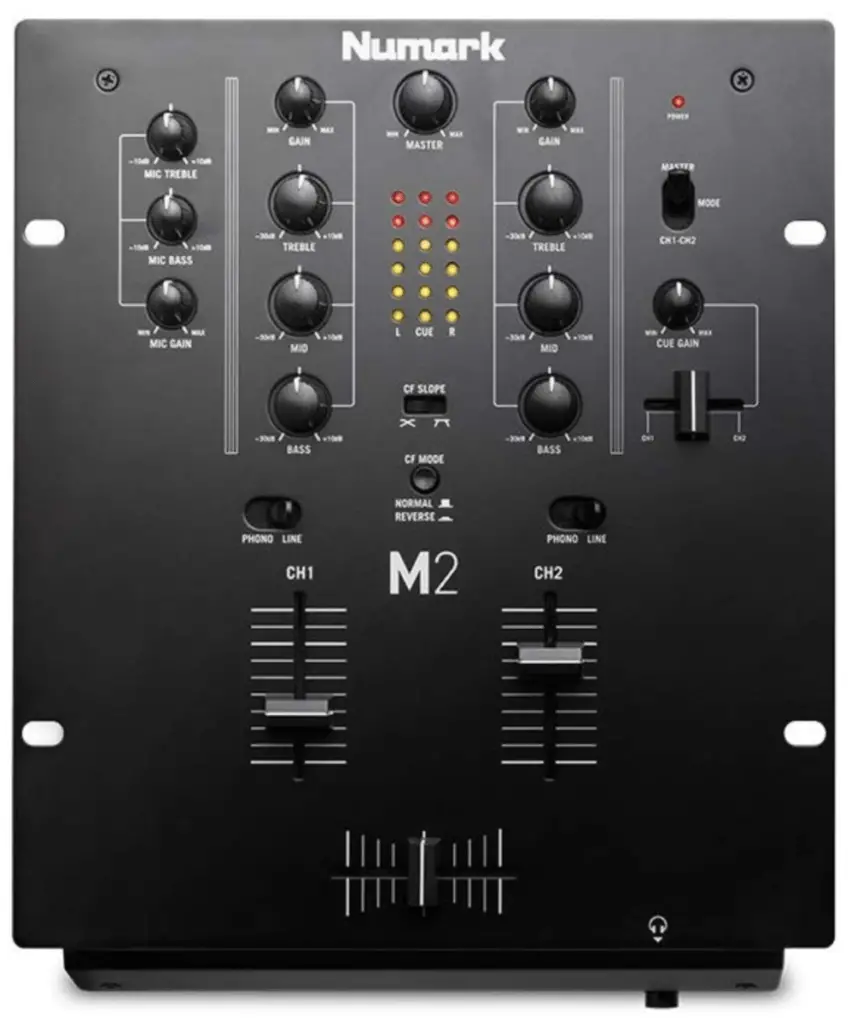
Getting to grips with each of these is important to help you setup the mixer correctly and start transitioning better in the mix between two music tracks.
Crossfader
The most essential part of the mixer, the cross fader allows you to shift audio volume from channel 1 to channel 2 and back again.
Channel Volume
This allows you to have control over how much volume for each channel is being sent out of the speakers. The master volume is separate to channel volume as it controls the overall volume being sent to the speakers.
‘Phono VS Line’ Switch
This switch allows you to switch between two different signals.
- Phono – Phono allows you to connect CDJs or Turntables via the phono to phono (aka RCA) cable. Make sure you plug the phono cable into the RCA connections on the back of the DJ mixer.
- Line – Switching to line allows you to play DVS enabled turntables using an audio interface. As a beginner you’ll likely be better off using a simple setup of just turntables, CDJs or DJ controller.
EQ (Low / Mid / High) Knobs
Controls higher EQ frequencies from the audio being played on either channel 1 or channel 2.
- High (Treble) – Frequencies within the range of 3,000–20,000 Hz can be taken away or added for effect. The types of instruments impacted are hi-hats, cymbals, vocals and high end vocal frequencies.
- Mid – Cuts out or adds frequencies with 250–3,000 Hz. The types of instruments impacted are piano, strings, percussion / bongos.
- Low (Bass) – The main purpose of the low EQ knob is to take out the bass a sub-frequencies, 20–250 Hz, especially when mixing or fading into another track. Bass and kick drums are the most removed from the Low frequency knob.
‘Fader Slope’ Switch
This button or switch adjusts how quickly the audio of a new channel is introduced using the crossfader.
So for example it’s possible to switch to a very smooth transition to the a channel audio or very quickly. I prefer to have this set to smooth as it allows you to mix in tracks seamlessly, great for dance, house, Drum & Bass and Techno for example. Hip Hop is better for a shorter transition of the crossfader and for DJs that like to scratch too.
‘Cue’ Switch or Button
Cue buttons or switches allow you to select which channel audio you would like to hear in the headphones. Make sure to use just one cue button at a time so you can hear one track individually. This can help you listen to the track that’s being played live out of the speakers versus the track being cued up yet to be mixed in.
‘Cue to Mix Gain’
This controls what you hear in the headphones and allows you to switch the audio between the cue and live audio in the mix. So if you switch to ‘Mix’ for example, and you have the crossfader in middle of a mix of track A & B then that’s what you will hear. It’s basically the same as what your audience will hear through the speakers.
‘Gain’ Knobs
‘Gain’ knobs are also known as ‘Trim’. These help control the signal being sent to each channel on the DJ mixer. The signal strength is notified by the colours being shown on the LED lights. Stay out of the red and you will be fine.
Read here for how to stay out of the red and stop redlining your mixer.
WEEK 2
Pick a Music Genre to Mix (And Stick with it)
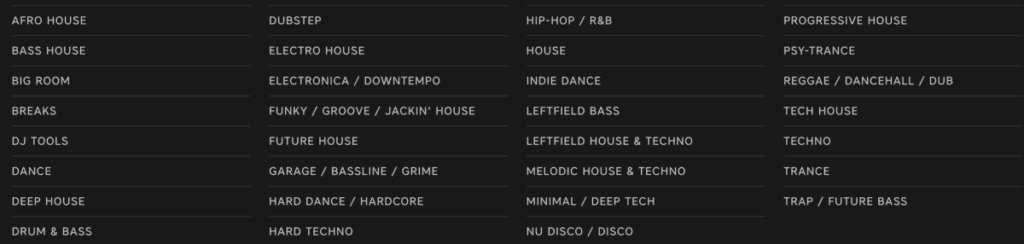
As you’re starting out and learning how to get into mixing music, I’d suggest sticking with one genre of music for the time being. From experience this helps you to get an ear for the music that you like and helps you to get better a mixing and beat matching tracks quickly.
It’s a really great thing to get a range of sub-genres and music within the same genre to change the groove and flow within your DJ sets.
For example House music has a lot of sub-genres and styles for example (funky, soulful, deep and many more). Some tracks have different beats e.g. heavy vs hard hitting kick drums but still at the same tempo.
This will give you the variety to hone your ear for beat matching within one genre without deviating into loads of different genres from day one of learning how to DJ.
Learn How to Use DJ Software Effectively
This is a really important aspect of becoming a DJ and learning how to use DJ software to your advantage. There are some great features to use such as setting cue points and auto-setting of quantise points. All these types of features can help you become a better and more efficient DJ.
Depending on which software you acquire may differ on the look, feel and functionality however the principle of how you use DJ software is all the same. Serato, Rekordbox and Traktor are some of the most popular DJ software out there on the market.
Don’t Download Too Many Tracks to Begin With
Trust me when I say this, I’ve seen a lot of DJs that get into downloading tracks from DJ record pools and creating lists of music from streaming services. They download too many tracks! It’s confusing after a while and I bet they don’t even know half the tracks in detail.
My key advice with curating and downloading music is to limit yourself to a certain amount of tracks. The technique that I use is to focus on building a set list of related tracks, maybe around 20 to 50 tracks.
That way you can mix tracks without thought and build up an ear for which tracks work well together. If you have too many tracks it can be overwhelming and not necessarily benefit you when crafting set lists for your DJ mixes.
WEEK 3
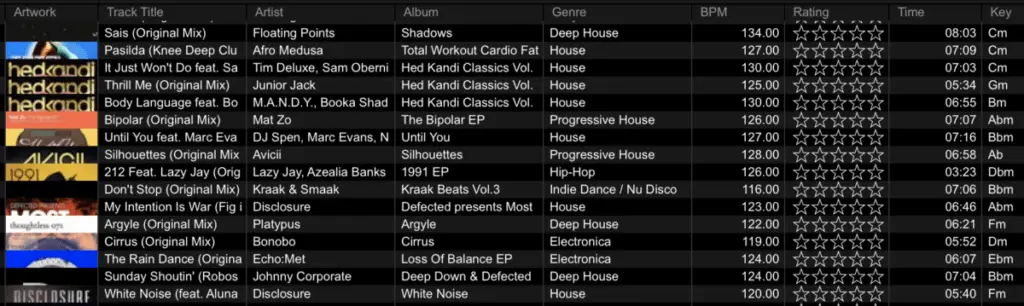
Categorise Music Tracks into Folders
Related to the previous point, after a certain amount of time you will of built up quite a sizeable music library. This is where you can put folders to good use in your DJ software.
Categorisation of music into each folder is unique to each DJ, however here are some ideas to bucket your music to help you pick out tracks. This can help when DJing live selecting music to get the crowd going and also planning a new DJ set list for an upcoming gig.
- BPM
- Melody
- Sub-genre
- Key
- Decade
Know What a Cue Point Is
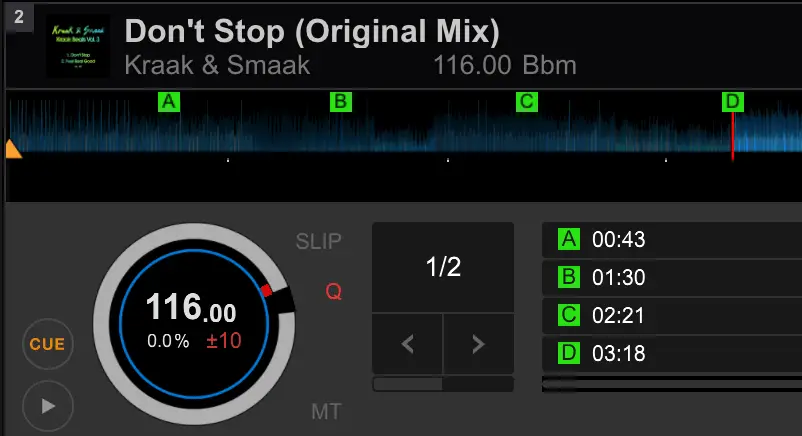
A cue point is essential for getting a music track ready to play for beat matching with a track that’s playing live to an audience through the speakers.
Cue points aren’t defined by a specific area of a music track which is where DJ software can help to set them at various points throughout a track. A good starting point though is to start with the cue point of the first beat of a track.
Some tracks might not start with a beat and might start with a hi-hat or synth. This is where cue points are very useful in helping you to start playing a track that’s at the beginning of a bar and phrase, which leads us onto the next point.
WEEK 3
Count Beats within Bars and Phrases
Knowing what a bar and a phrases is really is essential for learning how to mix music together. It is basic music theory which will help you get to grips with mixing seamlessly and professionally.
If you’d like to read more about beats, bars and phrases please enjoy reading and learning about the topic here.
WEEK 4 & 5
Learn to Beat Match by Ear
Most digital DJ equipment allows DJs to see audio waves of each track visually. In some ways this is great for DJs starting out to see the kick and the snare of each track and try to beat match music this way.
On the other hand this could create too much of a dependancy on visually looking at the audio wave on the screen and not listening to the music.
My advice is when you start learning to DJ make sure you cover up the digital screen and begin learning to beat match by ear.
Learn to Beat Match Using Pitch Shift
At the exact same time as learning to beat match by ear make sure you use the pitch shift as the main source of beat matching.
This will give you an amazing feel for the pitch shift and an amazing transferable skill to DJ on almost all DJ equipment. With this skill you’ll be able to DJ on record vinyl turntables, DJ controller and CDJs.
WEEK 6 & 7
Practice Transition Techniques
Once you’ve got to the level of skill with beat matching then the next step is to start transitioning. Providing you’ve got a great understanding of beat matching phrases of each track then you can try using the cross fader to blend the two tracks together.
Trial and error is a really great way to learn EQ transitioning between tracks.
Once you’ve got quickly comfortable with using the crossfader on its own then I’d advise using the EQ knobs to help filter smoothly between two tracks. Just experiment! Some mixes might work better with cutting the bass or a vocal track might work better if you transition by reducing the high and mid EQ. Trial and error is a really great way to learn EQ transitioning between tracks.
Practice Mixing with The Same Tracks, Over and Over
When I first started mixing years ago I got to know two or three tracks really well. I knew the structure of the music tracks inside out, I knew where each phrase segmented into the next phrase and the intricate rhythms of each track.
From there I simply mixed all three tracks over and over until I got to a confident level of beat matching by ear, using the pitch shift and EQing between each track. At this point you will be very happy that you can mix any track together.
WEEK 8
Create a Set List
Now it’s time to craft a larger set list of music together ready to mix a decent DJ set.
Create a list of around 20 tracks in your DJ software. By now you should have a rough idea of which types of tracks work well together.
If not then don’t worry just simply practice mixing the 20 tracks in different combinations to figure out which tracks work well together. If some tracks don’t work within the set, no worries, take some tracks out and maybe consider replacing them with a few new tracks.
Practice & Record Your Mixes
Some DJs advise to practice DJing your DJ sets and that’s it. There’s no harm in this but there’s no sense of pressure and you can easily just stop a track half way through a mix and start over.
In a live DJing environment you won’t be able to re-start a mix, so why practice like that.
One of the most effective ways to enhance your DJ skills and mixing ability is to record every DJ mix you do. You won’t be able to escape a mix if it’s going wrong and force you to rectify a mix in real-time. In a live DJing environment you won’t be able to re-start a mix, so why practice like that.
Read this article to learn 5 techniques on how to record your DJ mix.
Listen and Analyse your Record DJ Mixes
Because you’ve made the bold move to record your most recent DJ set onto your laptop you’ll now be able to listen back. Analyse the mixes between tracks:
- be critical of each mix
- understand if you could of tightened up the beat matches of each track
- could a better EQ transition of worked?
- could a better phrase been picked to blend the two tracks e.g. were the two vocals on each track clashing?
- were some of the tracks too high in volume and simply be resolved by the gain signal being reduced?
WEEK 9 to 12
Feedback from Your Friends on Your DJ Mixes
Share your most recent mix on social media (publicly or privately), add to Soundcloud or Mixcloud and try to get some feedback from friends, family and the public. Sharing on DJ based forums can help too, for example Reddit, DJ Forums and Dogs On Acid.
Another idea to get some real feedback from friends and aqcuaintences is to DJ live at a small house party and also along side other DJs.
DJing back to back with other DJs that are better than you can give you a real sense of how well you can DJ. You can easily gauge your skill level and also pick up some amazing tips by watching and asking other DJs.
Related Questions
What do beginner DJs need?
Beginner DJs require basic DJ equipment to start DJing music. A 2-channel mixer, two turntables in the format of a CDJ, record vinyl turntable or DJ controller, plus speakers with an amp. It’s possible to purchase pre-amp speakers which work independent of an amp. Music is essential to DJ with and the most common format is digital audio in MP3 or WAV files.
How do you DJ at a party?
Tailor the music to your audience tastes and then create a DJ set list ready for mixing for when your audience arrives. DJing and mixing music can be achieved via DJ software independently on a laptop and also with a DJ controller or turntables. It’s possible to play music from the laptop with speakers connected or using a mixer.
Where do DJs get their music?
DJs download or stream music to a laptop using DJ software such as Serato or Traktor. Soundcloud Go, Tidal, BPM Supreme, DJ City are examples of both streaming services and record pools. Buying individual tracks via Apple music and Beatport for example are websites to purchase music for DJing.
What are the qualities of a good DJ?
Traits of a great DJ include passion, resilient, good under pressure if issues arise that need to be resolved quickly, confident, understands building relationships with people and also has a great ear for music from a harmonic and rhythmic point of view.
